Skip to primary navigation
Skip to main content
Skip to primary sidebar
Home
Pallet Furniture
Pallet Beds
Pallet Tables
Pallet Chairs
Pallet Benches
Pallet Sofas
Pallet Swings
Pallet TV Stand
Pallet Headboards
Pallet Projects
Pallet Art
Pallet Planters
Pallet Shelves
Crate Furniture
Pallet Fence
Pallet Houses
Pallet Kitchen
Pallet Racks
Pallet Garden
Wonderful Ideas
Home Guide
search...
Search Results for: manage
Avoid Pallet Racking Hazards and Risks by Taking These Steps
Why Is Your Basement an Excellent Base For Pests and What To Do About It?
Turning Your House into an Eco-Friendly Home in Texas
Where to Find Wood Pallets for DIY Projects
Pallet Dog House Made From Reclaimed Wood
Pallet Bookshelf Ideas for Your Dorm Room
30 DIY Pallet Furniture Projects
Pallet Sofa with Cushion: DIY Tutorial
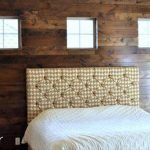
DIY Pallet Bedroom wall: Interior Improvements
Pallet Couch Design Plan: DIY Tutorial
DIY Bedroom Wall Made of Pallets
10 DIY Chic Pallet Sofa Ideas
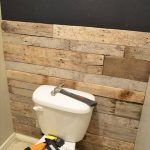
DIY Tutorial: Pallet Bathroom Wall
10 DIY Pallet Sign Ideas For Wedding
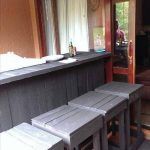
DIY Pallet Outdoor Bar and Stools
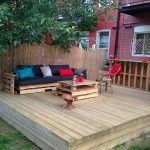
DIY Pallet Deck Tutorial
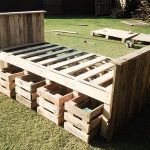
Pallet Bed Frame Design
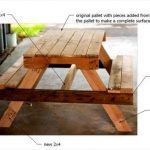
Pallet Picnic Table
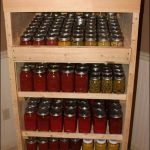
Pallet Canning
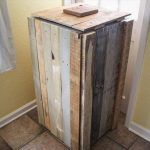
DIY Pallet Recycle Bin Makeover
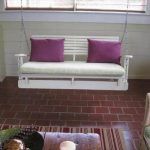
DIY Pallet Swing Chair Tutorial
DIY Wood Serving Tray
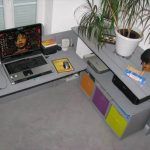
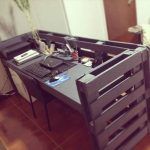
Pallet Office Furniture – 3 Unique Ways to Use Pallets
DIY Wood Crate Storage Shelves
DIY Wooden Cable Drum Furniture Ideas
DIY Pallet TV Stand and Wall Shelves
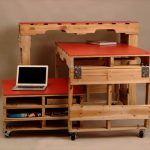
DIY Pallet Foldable Sectional Computer Desk
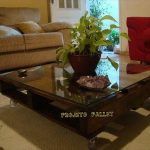
DIY Pallet Coffee Table with Glass Top
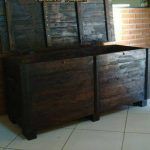
Simple Trunk Made Out of Pallets
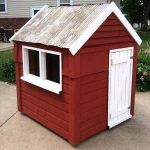
Build Easy DIY Playhouse From Pallets
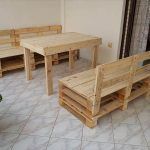
5 DIY Pallet Furniture Projects
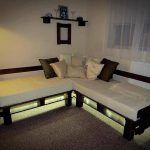
DIY Pallet Sectional Sofa with Lights
DIY Pallet Folding Desk
Easy And Low Cost Pallet Outdoor Chair
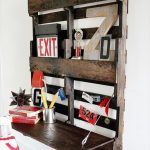
Pallet Office Desk
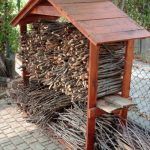
DIY Pallet House for Firewood
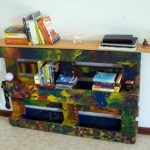
DIY Pallet Bookshelf Project
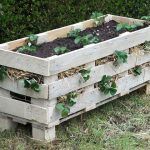
How to Make a Strawberry Pallet Planter?
DIY Pallet Project: Patio Pallet Daybed
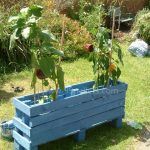
Pallet Planter Box Tutorial
Page
1
Page
2
Page
3
Go to
Next Page »